Gutenberg quickstart 2: From "Hello, World" to macros
When we left of, we'd just created a "Hello, World" website—nothing that fancy, but enough to get a feel for the basic structure of Gutenberg's templating system.
[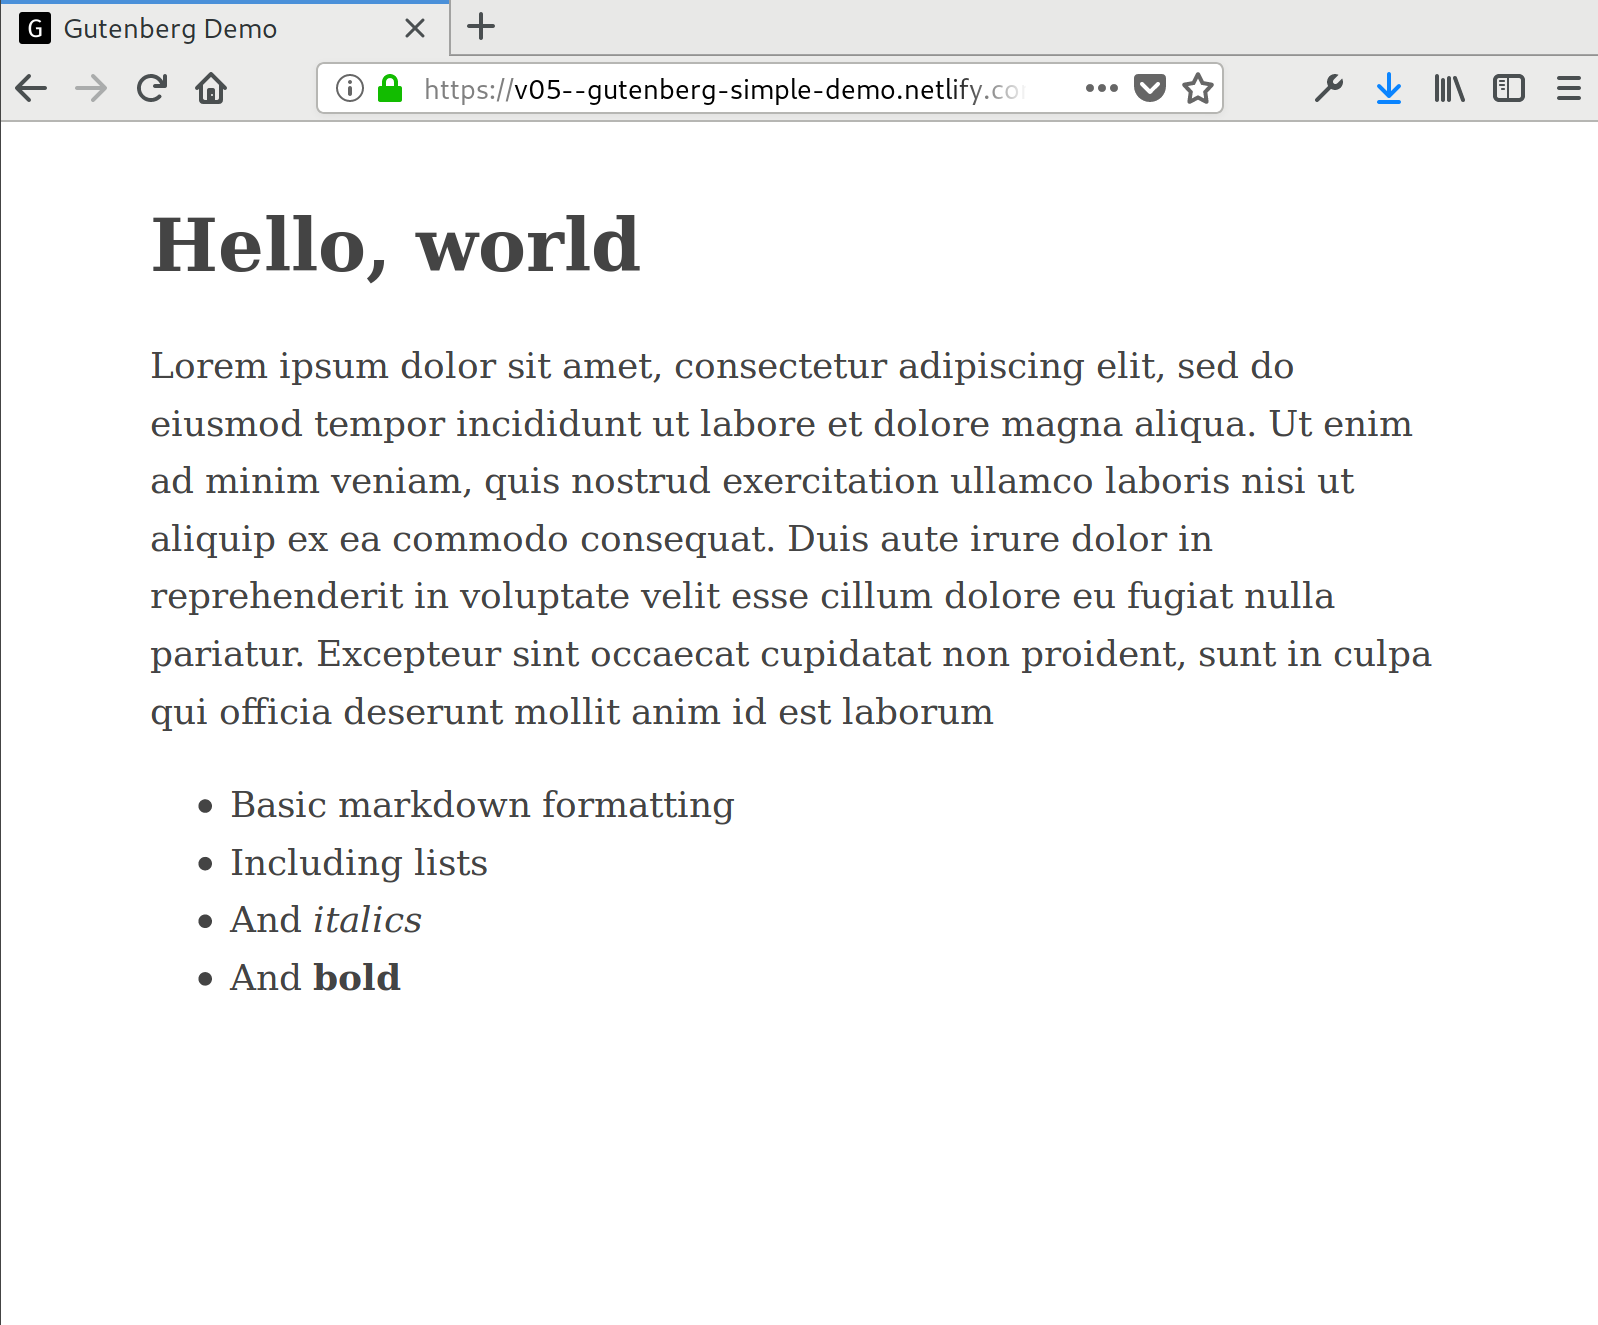](https://v05--gutenberg-simple-demo.netlify.com/)(source code, as always, in the GitHub repo.)
Today, we're going to dive in a bit deeper and take a look how we can use Gutenberg's templates to support a multi-page site.
An About page
First, let's create an About page for our demo site. Before we do, though,
lets add a link to our new page from our homepage. Add the following HTML to
your index.html file just after the body begins:
    <nav>
      <a href="/">Home</a> | <a href="/about">About</a>
    </nav>
Now that we have a link, lets make the page. To do that, we'll need a
template that applies to pages—right now, we only have the index.html template
but, as we talked about last time, that template only applies to the home page.
By default, all other pages are governed by the page.html template. (Note
that I said pages, which are distinct from sections. We'll get to sections
next time.) So, if we're going to have an About page, we're going to need a
pages.html template.
To create one, simply copy your index.html template over to pages.html and
make one change. Change the line {{ section.content | safe }} to {{ page.content | safe }} since we want the content of the page rather than of a
section.
Next, we'll need some content. To create that content, navigate to your
content directory and create a new about folder. Inside this folder, create
a file called index.md and give it this content (or something similar if you
want to experiment):
+++
title = "About"
+++

Some details about this site.
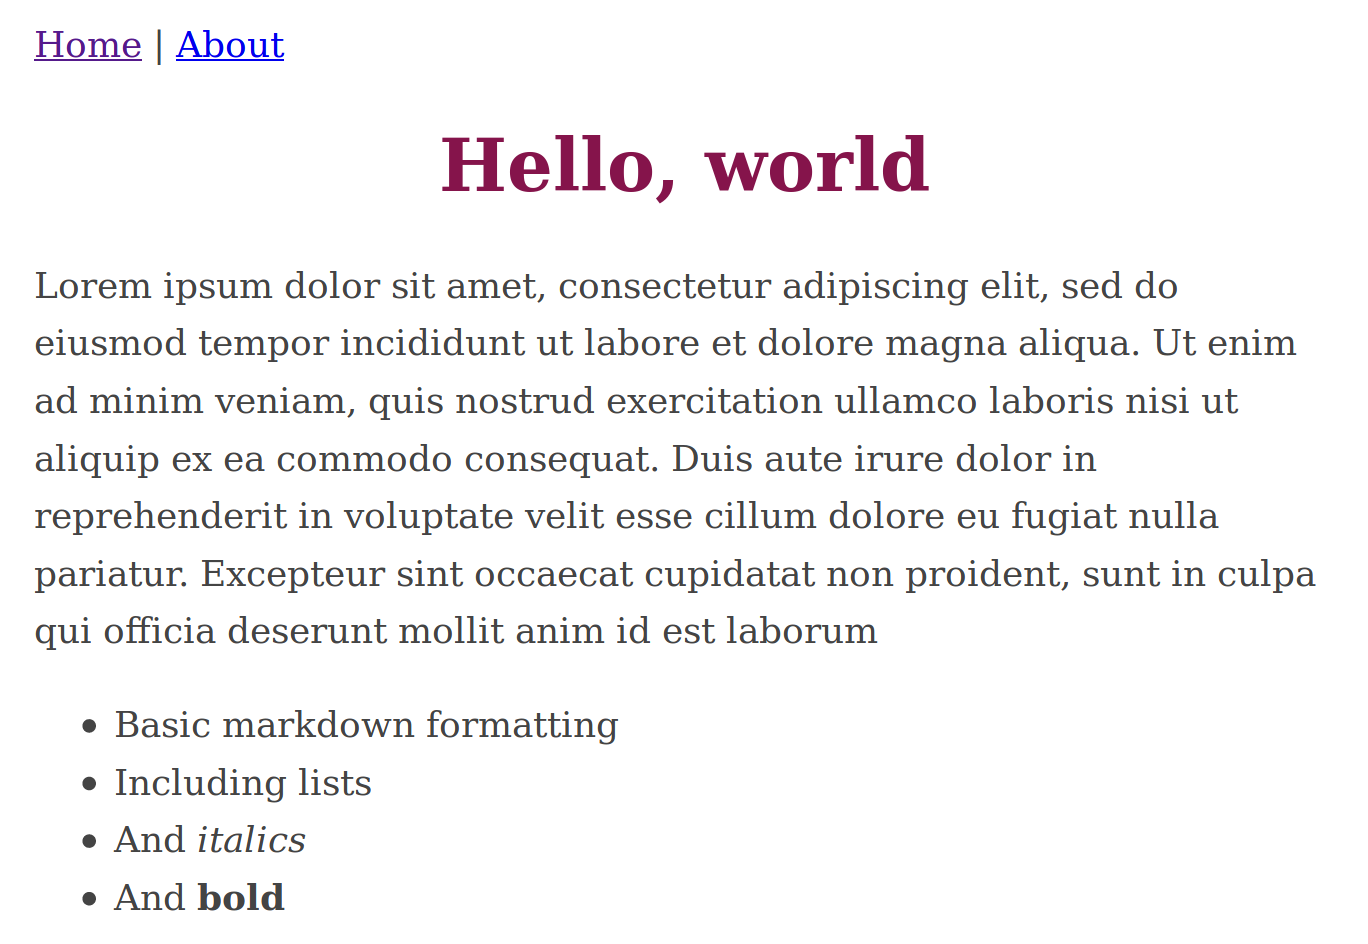
And that's all it takes to have a second page up and running. Fire up your
local server with gutenberg serve and you should get something like this,
with working links:
First refactor
While that definitely worked, there's a lot about it that should have just about any experienced web developer cringing. Most notably, we have two separate templates that are literally copies of one another with only a single word changed between them. This is about as blatant a violation of don't repeat yourself as you could ever hope to find.
So, let's fix that. And, in the process, we'll get to know another set of Gutenberg's key features: base templates, extends, and blocks.
To implement this, create another copy of index.html. (Yes, I know we're
trying to reduce the amount of copying, but just bear with me.) You can
name this one whatever you like, so long as it has an .html extension. I'll
go with base.html. Then, replace everything inside the body tag with
{% block content %}
{% endblock content %}
What does that do? It creates a block that has the name "content". What
this means is that any other file can extend base.html and substitute in
content inside that block.
Let's set that up now. Delete all the text in index.html and replace it
with the following:
{% extends "base.html" %}

{% block content %}
  {{ section.content | safe }}
{% endblock content %}
You may be able to guess what this does: it tells Gutenberg that you want to
extend the base.html template, and that it should substitute in the stuff
inside the "content" block for the "content" block in base.html.
A few points are worth noting here:
- the
extendsline must be the first line in the template. As a direct consequence, a template may only extend one parent template. - However, you can chain extensions—that is, another template could extend
index.htmleven thoughindex.htmlis extendingbase.html. - Templates can have more than one
block. For example, I will frequently have at least three blocks in mybase.html:page_speciffic_css,content, andpage_specific_js. That lets me easily add in any of those elements if necessary in a child template. - Blocks can have default values in the parent template. For instance,
if you had put "Hello, World!" inside the "content" template in
base.html, then that text would be displayed whenever you extendedbase.htmlbut did not provide replacement text for the "content" block.
Let's make the same changes in page.html. Just like with index.html, we
can delete the entirety of our current text and replace it with
{% extends "base.html" %}

{% block content %}
  {{ page.content | safe }}
{% endblock content %}
We haven't changed our rendered HTML at all—as you can confirm with
gutenberg serve, but we've moved our source HTML into a single file, which
will make it much easier to maintain.
Dealing with the CSS
While we're refactoring, let's deal with the CSS. This tutorial isn't about
coding CSS, so we won't refactor the actual code. But let's at least get it
out of a <style> tag mixed in with our HTML.
Now, at this point there are two directions you could go. The more standard
way to go would be to replace your inline CSS with a <link rel="stylesheet">
tag and put our CSS in an external file. Gutenberg supports going this route,
and even comes with built-in support for compiling your CSS from Sass files.
If you want to do this, just create .sass or .scss files in your sass
directory. Then, during site build, those files will be automatically compiled
to your static directory and can be linked from your HTML files. If you want
more information on going that route, the
docs are
helpful as always.
However, in this guide I'm going to demonstrate going another way. We're going to include CSS inline in our built file, but break it out into a separate file in our source. This gives us most of the advantages of splitting our CSS out into a separate file—we separate our concerns, and we can link the same CSS file from multiple HTML pages—without paying the cost of additional HTTP requests that can unnecessarily slow down sites load their CSS with external requests. The only disadvantage to this approach is that CSS isn't cached, which matters for sites loading large quantities of CSS (e.g., bootstrap) but doesn't matter at all when we're loading only a KB or so.
Now that we've picked our approach, how do we do it? Simple. We move our
CSS into a separate template file, which I'll call css.html. So that file
should look like this:
body {
  margin: 40px auto;
  max-width: 650px;
  line-height: 1.6;
  font-size: 18px;
  color: #444;
  padding: 0 10px
}
h1,h2,h3 {
  line-height: 1.2;
}
(Depending on your text editor, you may need to tell it to apply CSS syntax highlighting to this file.)
Then, replace the CSS that was in your base.html with the single line
{% include "css.html" %}. Including files really is that easy.
If you'd like to see the source code for where we are now, it's in the GitHub repo. You can also check out the live site, though note that it won't have changed at all.
Even better system for CSS
I wanted to show you how to include files because it's simple, useful, and
good enough for many use cases. But I also want to take a moment to explore
macros, which are far more powerful and are one of Gutenberg's killer
features. In fact, I recommend using macros to handle your CSS.
But first, let's make our CSS just a little more advanced so that we can see the power of macros when dealing with our CSS. Lets add a bit of CSS that applies only to our homepage, not to our About page.
Imagine you want the following CSS to apply to the homepage:
h1 {
  text-align: center;
  color: #85144b /* maroon */
}
Now, we could do this with includes—we could put this in a separate file,
and then include it in our index.html file, but not in our base.html
file or our page.html file. But, though this would work, it could get a
bit messy—we'd need to artificially split our CSS into separate files even
when, as in this case, the size/complexity doesn't justify it.
Luckily, macros give us a better option. Here's what you do: rename css.html
to css_macros.html (optional, but recommended). Then, update it to have
the following content:
{% macro global_styles() %}
  body {
      margin: 40px auto;
      max-width: 650px;
      line-height: 1.6;
      font-size: 18px;
      color: #444;
      padding: 0 10px

  }
  h1,h2,h3 {
    line-height: 1.2;
  }
{% endmacro global_styles %}


{% macro homepage() %}
  h1 {
    text-align: center;
    color: #85144b /* maroon */
  }
{% endmacro homepage %}
Then revise your base.html file to look like the following:
{% import "css_macros.html" as css %}

<!DOCTYPE html>
<html lang="en">
  <head>
    <title>Gutenberg Demo</title>
    <meta charset="UTF-8">
    <style>
      {{ css::global_styles() }}
      {% block page_specific_styles %}
      {% endblock page_specific_styles %}
    </style>
  </head>
  <nav>
    <a href="/">Home</a> | <a href="/about">About</a>
  </nav>

  <body>
    {% block content %}
    {% endblock content %}
  </body>
</html>
As you can see, it now starts with an import line, which imports the macro
and then calls the macro inside the <style> tag. It also now has a second
block, a possibility we mentioned above.
Finally, update your index.html file to the following:
{% extends "base.html" %}
{% import "css_macros.html" as css %}

{% block page_specific_styles %}
  {{ css::homepage() }}
{% endblock page_specific_styles %}

{% block content %}
  {{ section.content | safe }}
{% endblock content %}
And now, launch the live site. If all goes well, you'll have a site that's only slightly changed from when you were using includes, but that is now powered by the full strength of macros.
[](https://v08--gutenberg-simple-demo.netlify.com/)Conclusion
Ok, that's it for now. We've gone from a single-page, single template site to a multi-page site making full use of multiple templates, separate CSS files, and the power of macros. Next time, we'll dive into sections and look at iterating through Gutenberg pages—we'll add a blog to our example site.